KVM环境下制作CentOS7 qcow2格式镜像 virt-install是一个命令行工具,它能够为KVM、Xen或其它支持libvirt API的hypervisor创建虚拟机并完成GuestOS安装;此外,它能够基于串行控制台、VNC或SDL支持文本或图形安装界面。安装过程可以使用本地的安装介质如CDROM,也可以通过网络方式如NFS、HTTP或FTP服务实现。对于通过网络安装的方式,virt-install可以自动加载必要的文件以启动安装过程而无须额外提供引导工具。当然,virt-install也支持PXE方式的安装过程,也能够直接使用现有的磁盘映像直接启动安装过程。
宿主机环境配置 1 2 3 4 5 6 7 8 9 10 11 12 13 14 15 16 17 18 19 20 21 22 23 24 25 26 27 28 29 30 31 32 33 34 35 36 37 38 39 40 41 42 43 44 45 46 47 48 49 50 51 52 53 54 55 56 57 58 59 60 61 62 63 mkdir /etc/yum.repos.d/bak mv /etc/yum.repos.d/* /etc/yum.repos.d/bak curl -o /etc/yum.repos.d/CentOS-Base.repo https://mirrors.aliyun.com/repo/Centos-7.repo yum -y install wget vim wget -O /etc/yum.repos.d/epel.repo http://mirrors.aliyun.com/repo/epel-7.repo yum -y install qemu-kvm qemu-img kvm qemu-kvm-tools libvirt bridge-utils virt-* # 启动libvirtd systemctl enable libvirtd systemctl start libvirtd # 关闭防火墙 systemctl stop firewalld systemctl disable firewalld # 关闭selinux setenforce 0 sed -i '/SELINUX/s/enforcing/disabled/' /etc/selinux/config # 设置时钟同步,并同步硬件时间 timedatectl set-timezone Asia/Shanghai hwclock -w # 修改文件并发数及内核参数(可不调整) tee /etc/sysctl.conf <<-'EOF' # System default settings live in /usr/lib/sysctl.d/00-system.conf. # To override those settings, enter new settings here, or in an /etc/sysctl.d/<name>.conf file # # For more information, see sysctl.conf(5) and sysctl.d(5). net.ipv4.ip_local_port_range = 10000 61000 net.ipv4.tcp_syncookies = 1 net.ipv4.tcp_fin_timeout = 30 net.ipv4.ip_forward = 1 net.core.netdev_max_backlog = 2000 net.ipv4.tcp_mem = 131072 262144 524288 net.ipv4.tcp_keepalive_intvl = 30 net.ipv4.tcp_keepalive_probes = 3 net.ipv4.tcp_window_scaling = 1 net.ipv4.tcp_syncookies = 1 net.ipv4.tcp_max_syn_backlog = 2048 net.ipv4.tcp_low_latency = 0 net.core.rmem_default = 256960 net.core.rmem_max = 513920 net.core.wmem_default = 256960 net.core.wmem_max = 513920 net.core.somaxconn = 2048 net.core.optmem_max = 81920 net.ipv4.tcp_mem = 131072 262144 524288 net.ipv4.tcp_rmem = 8760 256960 4088000 net.ipv4.tcp_wmem = 8760 256960 4088000 net.ipv4.tcp_keepalive_time = 1800 net.ipv4.tcp_sack = 1 net.ipv4.tcp_fack = 1 net.ipv4.tcp_timestamps = 1 net.ipv4.tcp_syn_retries = 1 net.bridge.bridge-nf-call-ip6tables = 1 net.bridge.bridge-nf-call-iptables = 1 net.bridge.bridge-nf-call-arptables = 1 fs.inotify.max_user_instances = 8192 fs.inotify.max_user_watches = 1048576 vm.max_map_count = 262144 EOF
下载镜像 163的Centos7.8_2003的下载地址,就不隐藏了http://mirrors.163.com/centos/7.8.2003/isos/x86_64/CentOS-7-x86_64-DVD-2003.iso
上传到所在的宿主机上,放在/data/iso_image目录下
创建qcow2镜像文件 1 2 # 创建成功很小的文件,只有真正写入数据的时候才会增长,最大为100G qemu-img create -f qcow2 /data/CentOS7_Base.qcow2 100G
创建kvm虚拟机 1 2 3 4 5 6 7 8 9 10 11 12 13 14 15 --name 指定虚机名字 --ram 指定内存 --vcpus 指定CPU数量 --os-type 指定系统类型 --os-variant 指定系统规格 --arch 指定64位 --network 指定网络类型(很重要,指定错误无法访问) --disk path qcow2的镜像位置 --location 实际iso镜像位置 --console 指定管理控制台类型 --graphics 指定物理设备vnc连接地址 virt-install --name CentOS7_Base --ram 4096 --vcpus 4 --os-type linux --os-variant rhel7 --arch=x86_64 --network network=default,model=virtio --disk path=/data/CentOS7_Base.qcow2,format=qcow2 --location /data/iso_image/CentOS-7-x86_64-DVD-2003.iso --console pty,target_type=serial --graphics vnc,listen=0.0.0.0,port=7788
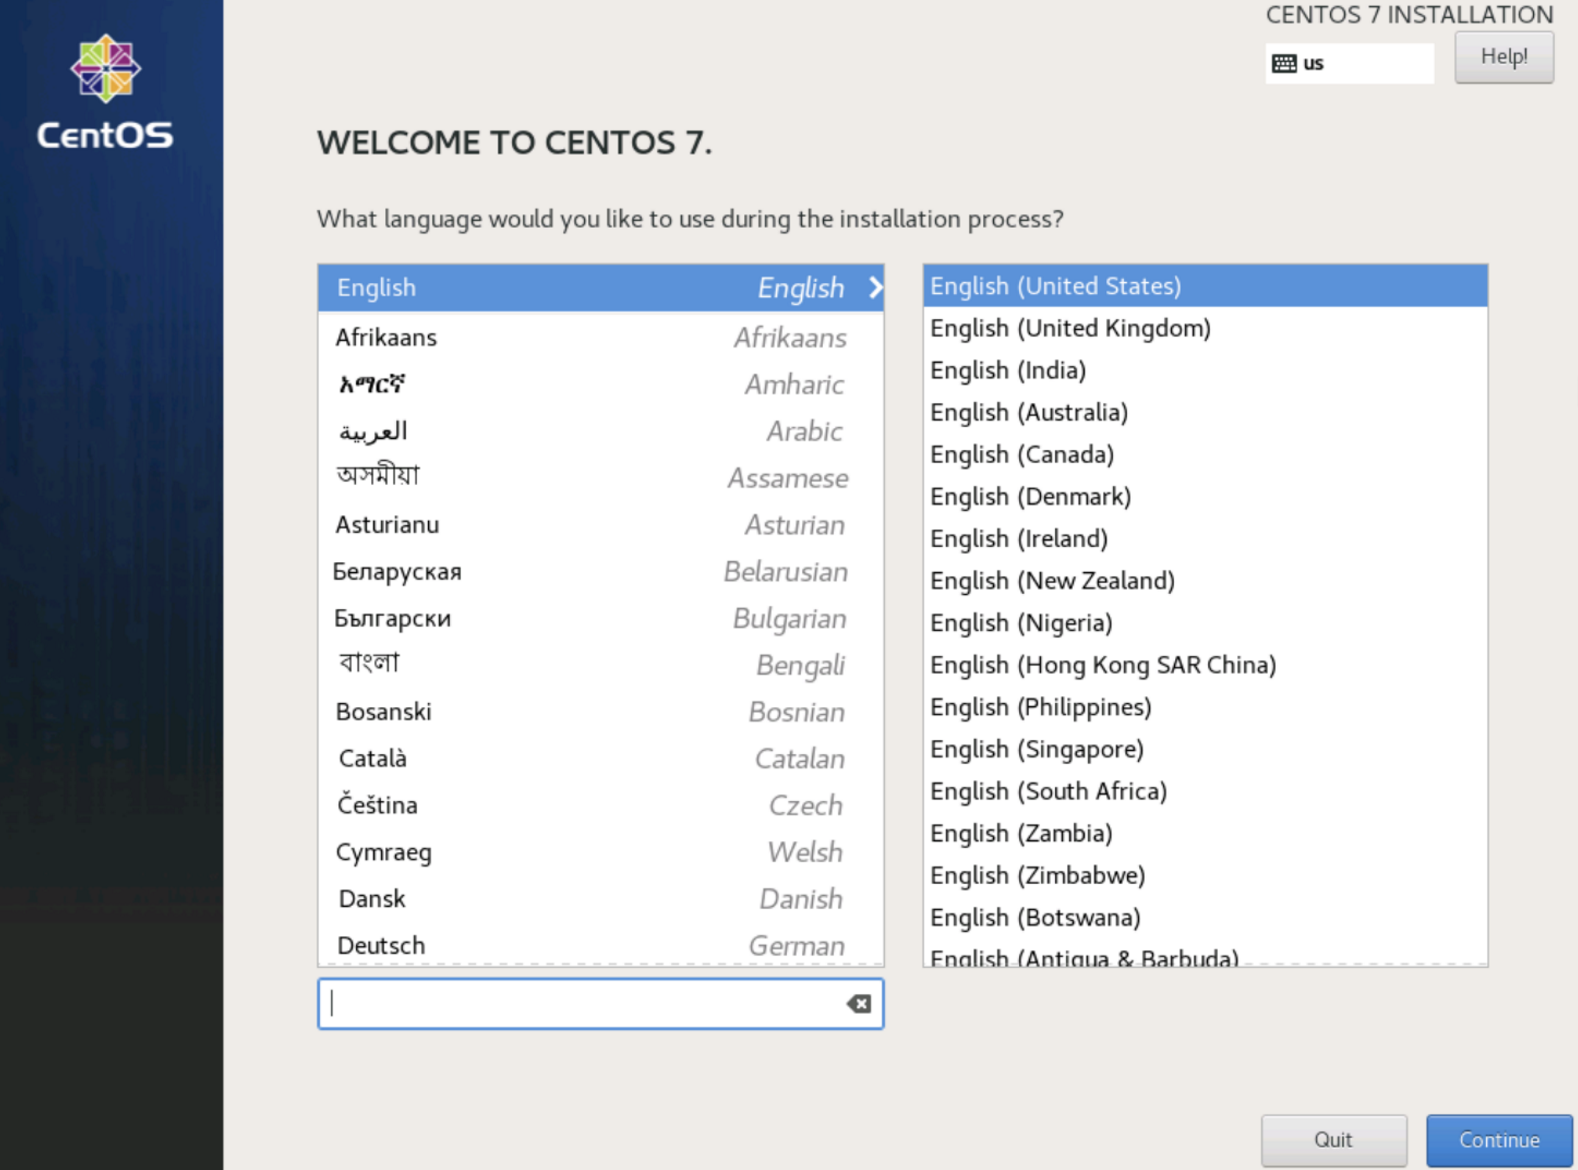
上面的步骤安装完之后就需要直接连接上你正在创建的虚拟机上去操作了,这个时候你可以使用vncviewer或者ultravnc都行
1 2 3 4 5 6 7 8 9 10 11 12 13 14 15 16 rm-rf /etc/yum.repos.d/* curl -o /etc/yum.repos.d/CentOS-Base.repo https://mirrors.aliyun.com/repo/Centos-7.repo yum -y install wget vim wget -O /etc/yum.repos.d/epel.repo http://mirrors.aliyun.com/repo/epel-7.repo # 关闭防火墙 systemctl stop firewalld systemctl disable firewalld # 关闭selinux setenforce 0 sed -i '/SELINUX/s/enforcing/disabled/' /etc/selinux/config # 设置时钟同步,并同步硬件时间 timedatectl set-timezone Asia/Shanghai hwclock -w
故障不能连接请看这里 如果不能连ssh可能是你的网卡配置有问题,可以直接到/etc/libvirt/qemu找到上面name相同的xml文件编辑下。主要修改类型type='bridge'、bridge='br0、type='virtio' 确认网卡关系
1
2
3
4
5
6
<interface type='bridge'> <mac address='52:54:00:39:dd:20'/> <source bridge='br0'/> <model type='virtio'/> <address type='pci' domain='0x0000' bus='0x00' slot='0x03' function='0x0'/> </interface>